Wiring your first Circuit
#LED LYFE
The first project that anyone hoping to work with an Arduino should be to hook up a LED without burning it out.

LED stands for light emitting diode, a LED, when powered, shines like a little sun. If you pump a little too much voltage into it however, it’ll slowly sputter out of existence leaving you with one dead LED and a little sadness.
To avoid LED-e-cide, a resistor is your best bet! Resistors are little guys who look like this: 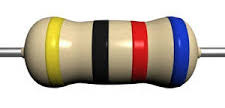
But if you want to read more about resistors and their POWER look into an older post: ResistorRage
The first step that needs to be taken in the actual construction of the circuit is to find:
- 2 jumper cables
- 220 ohm resistor
- breadboard
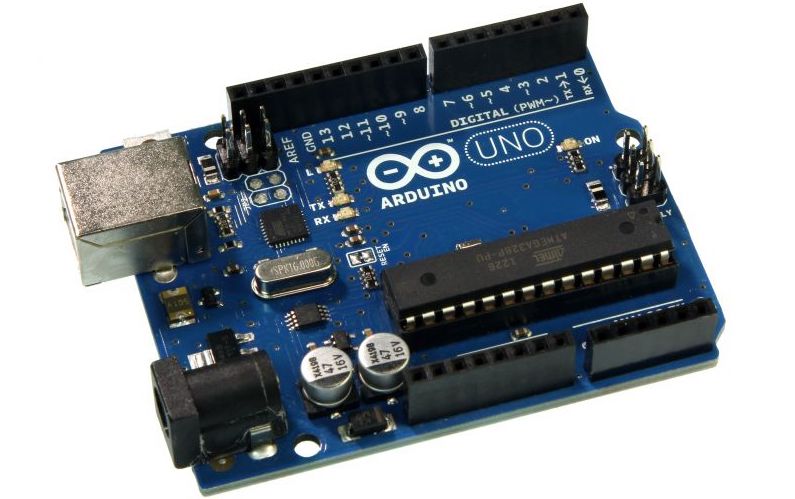
- Arduino uno
- A fabulously colored LED
Step one is to locate the 5v and the GND pins on your Arduino board. Take one of your jumpers, (preferably a red one) and put one end into the 5v and the other, on A5. Now take your second jumper, (preferably a black one), and connect the GND pin and A15. In order to not murder our fabulous LED, we need a resistor, wire in a 220 ohm resistor from B5 to B11. Finally, connect the long leg of the LED into E11 and the short into E15, completing the circuit, all you need now is some power. Most Arduino kits come with a black power supply that’ll get your system running.
Lights off: 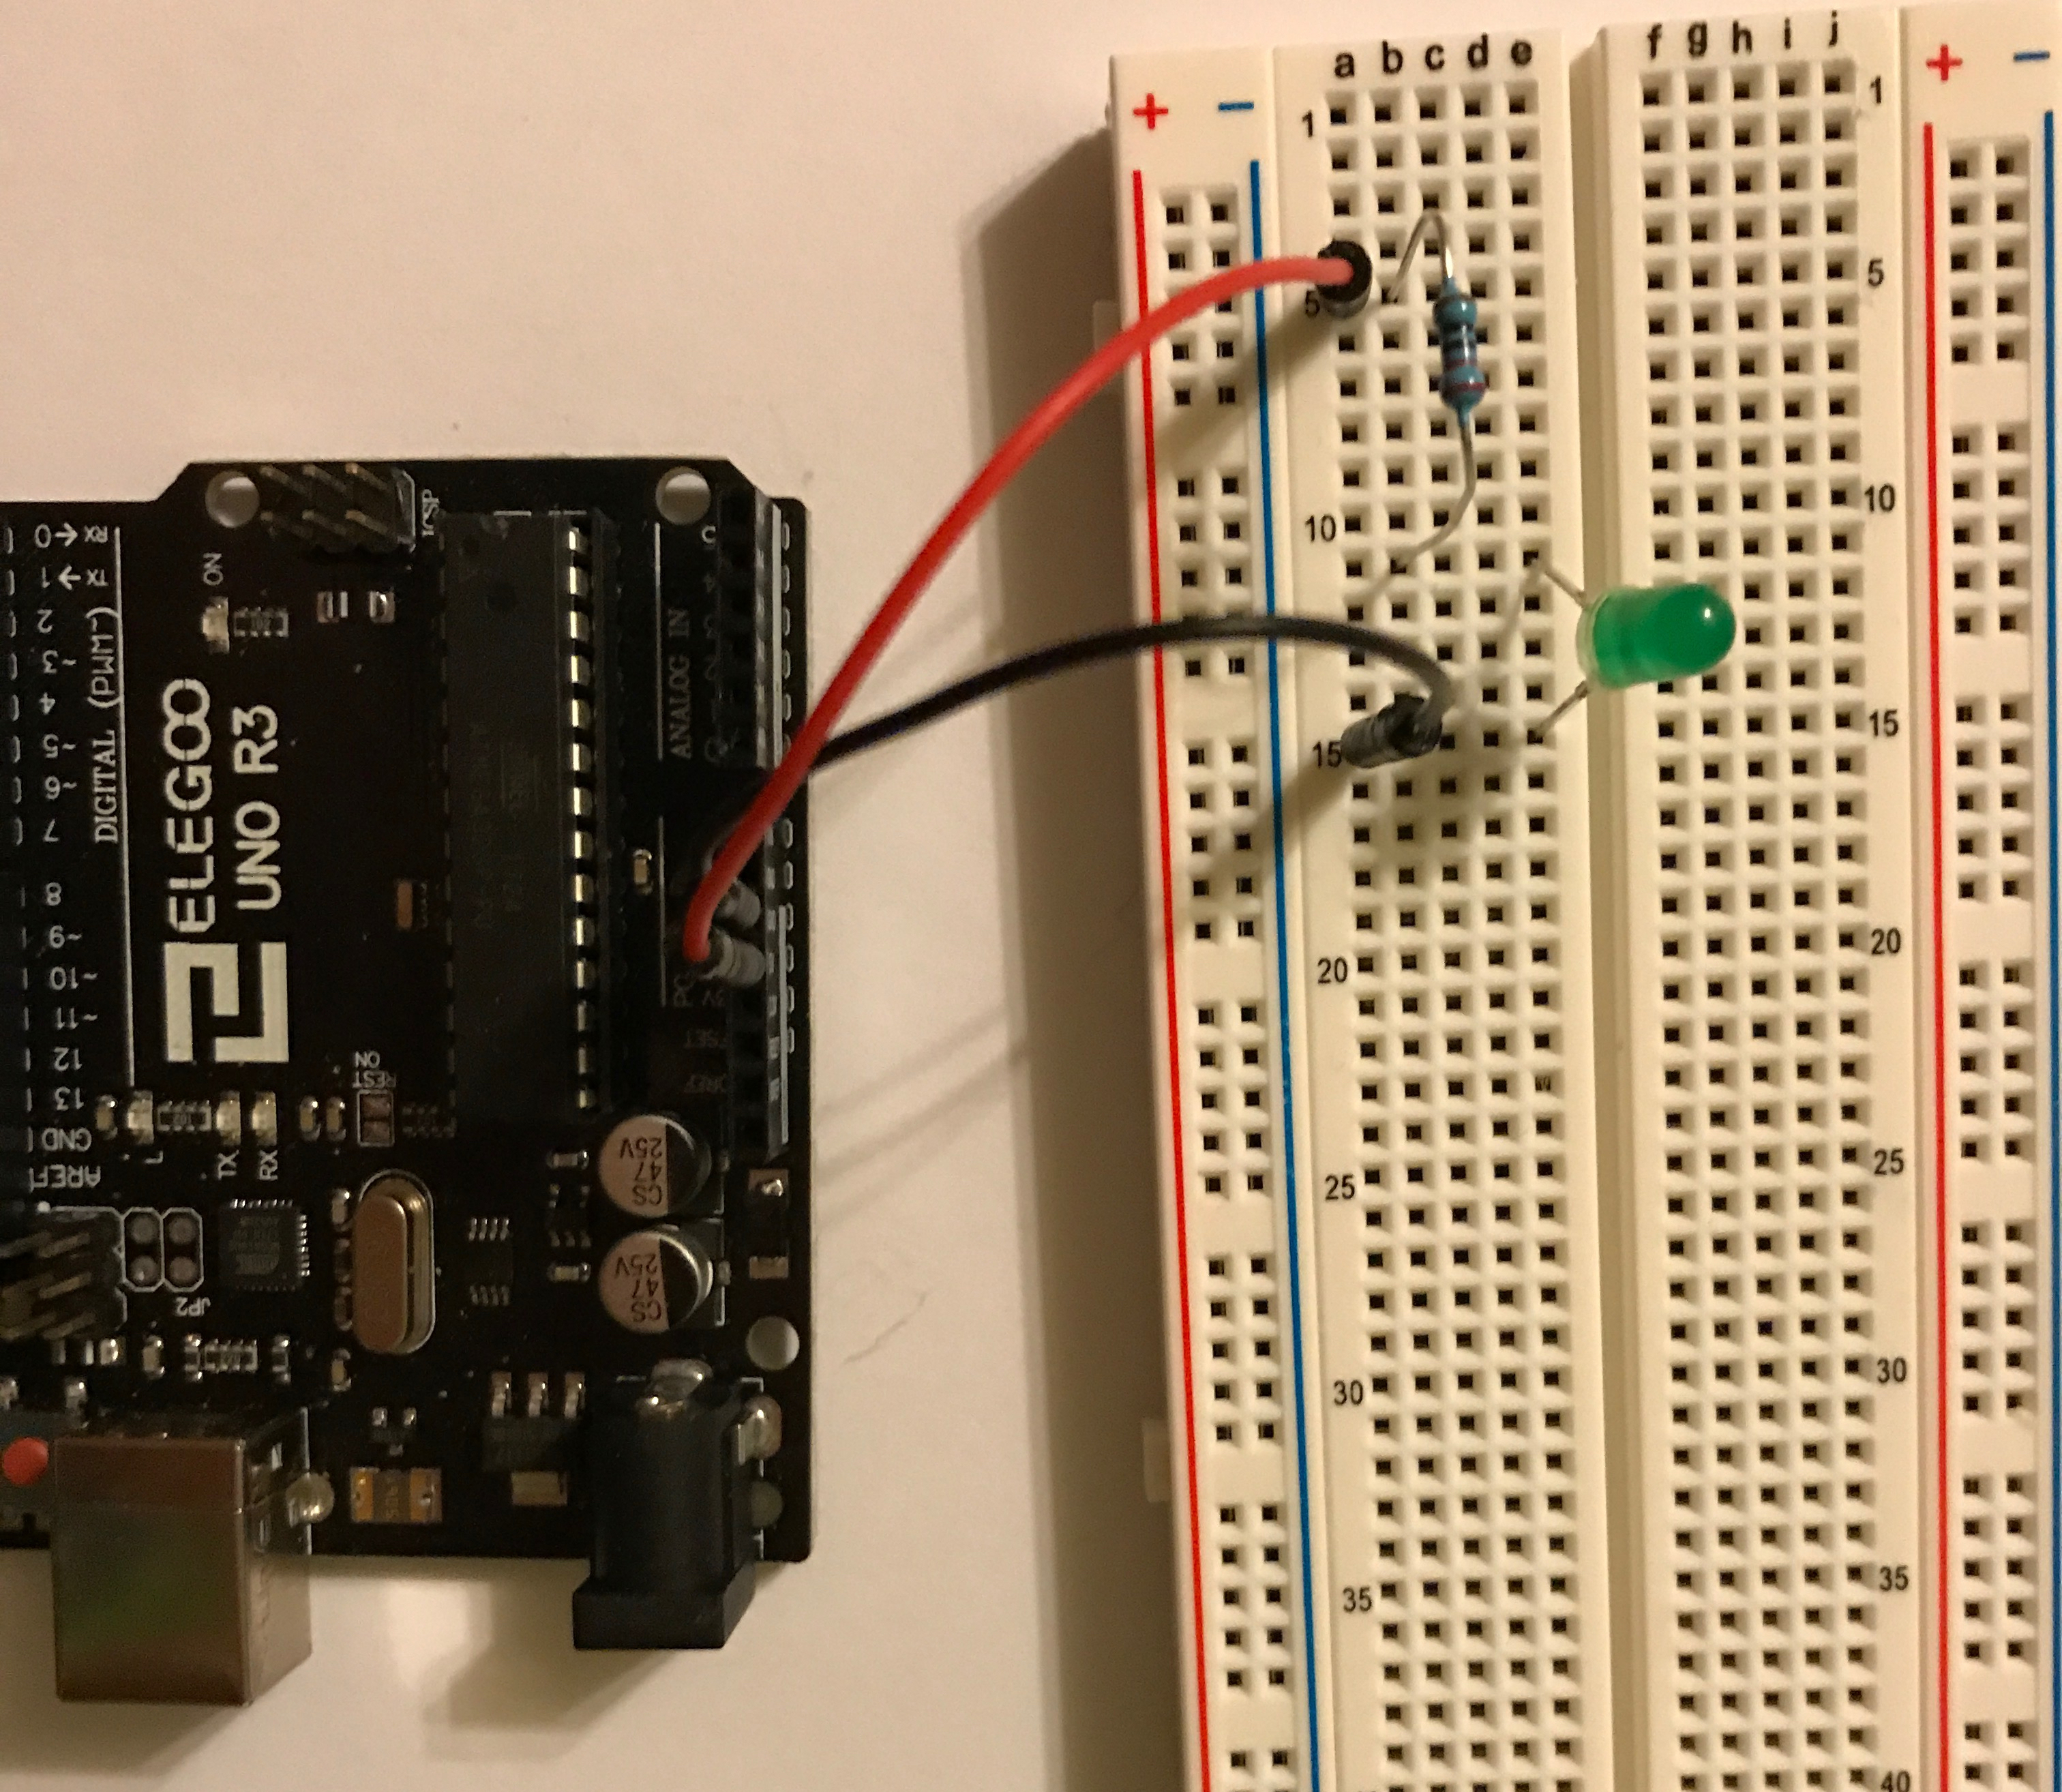
Lights on: 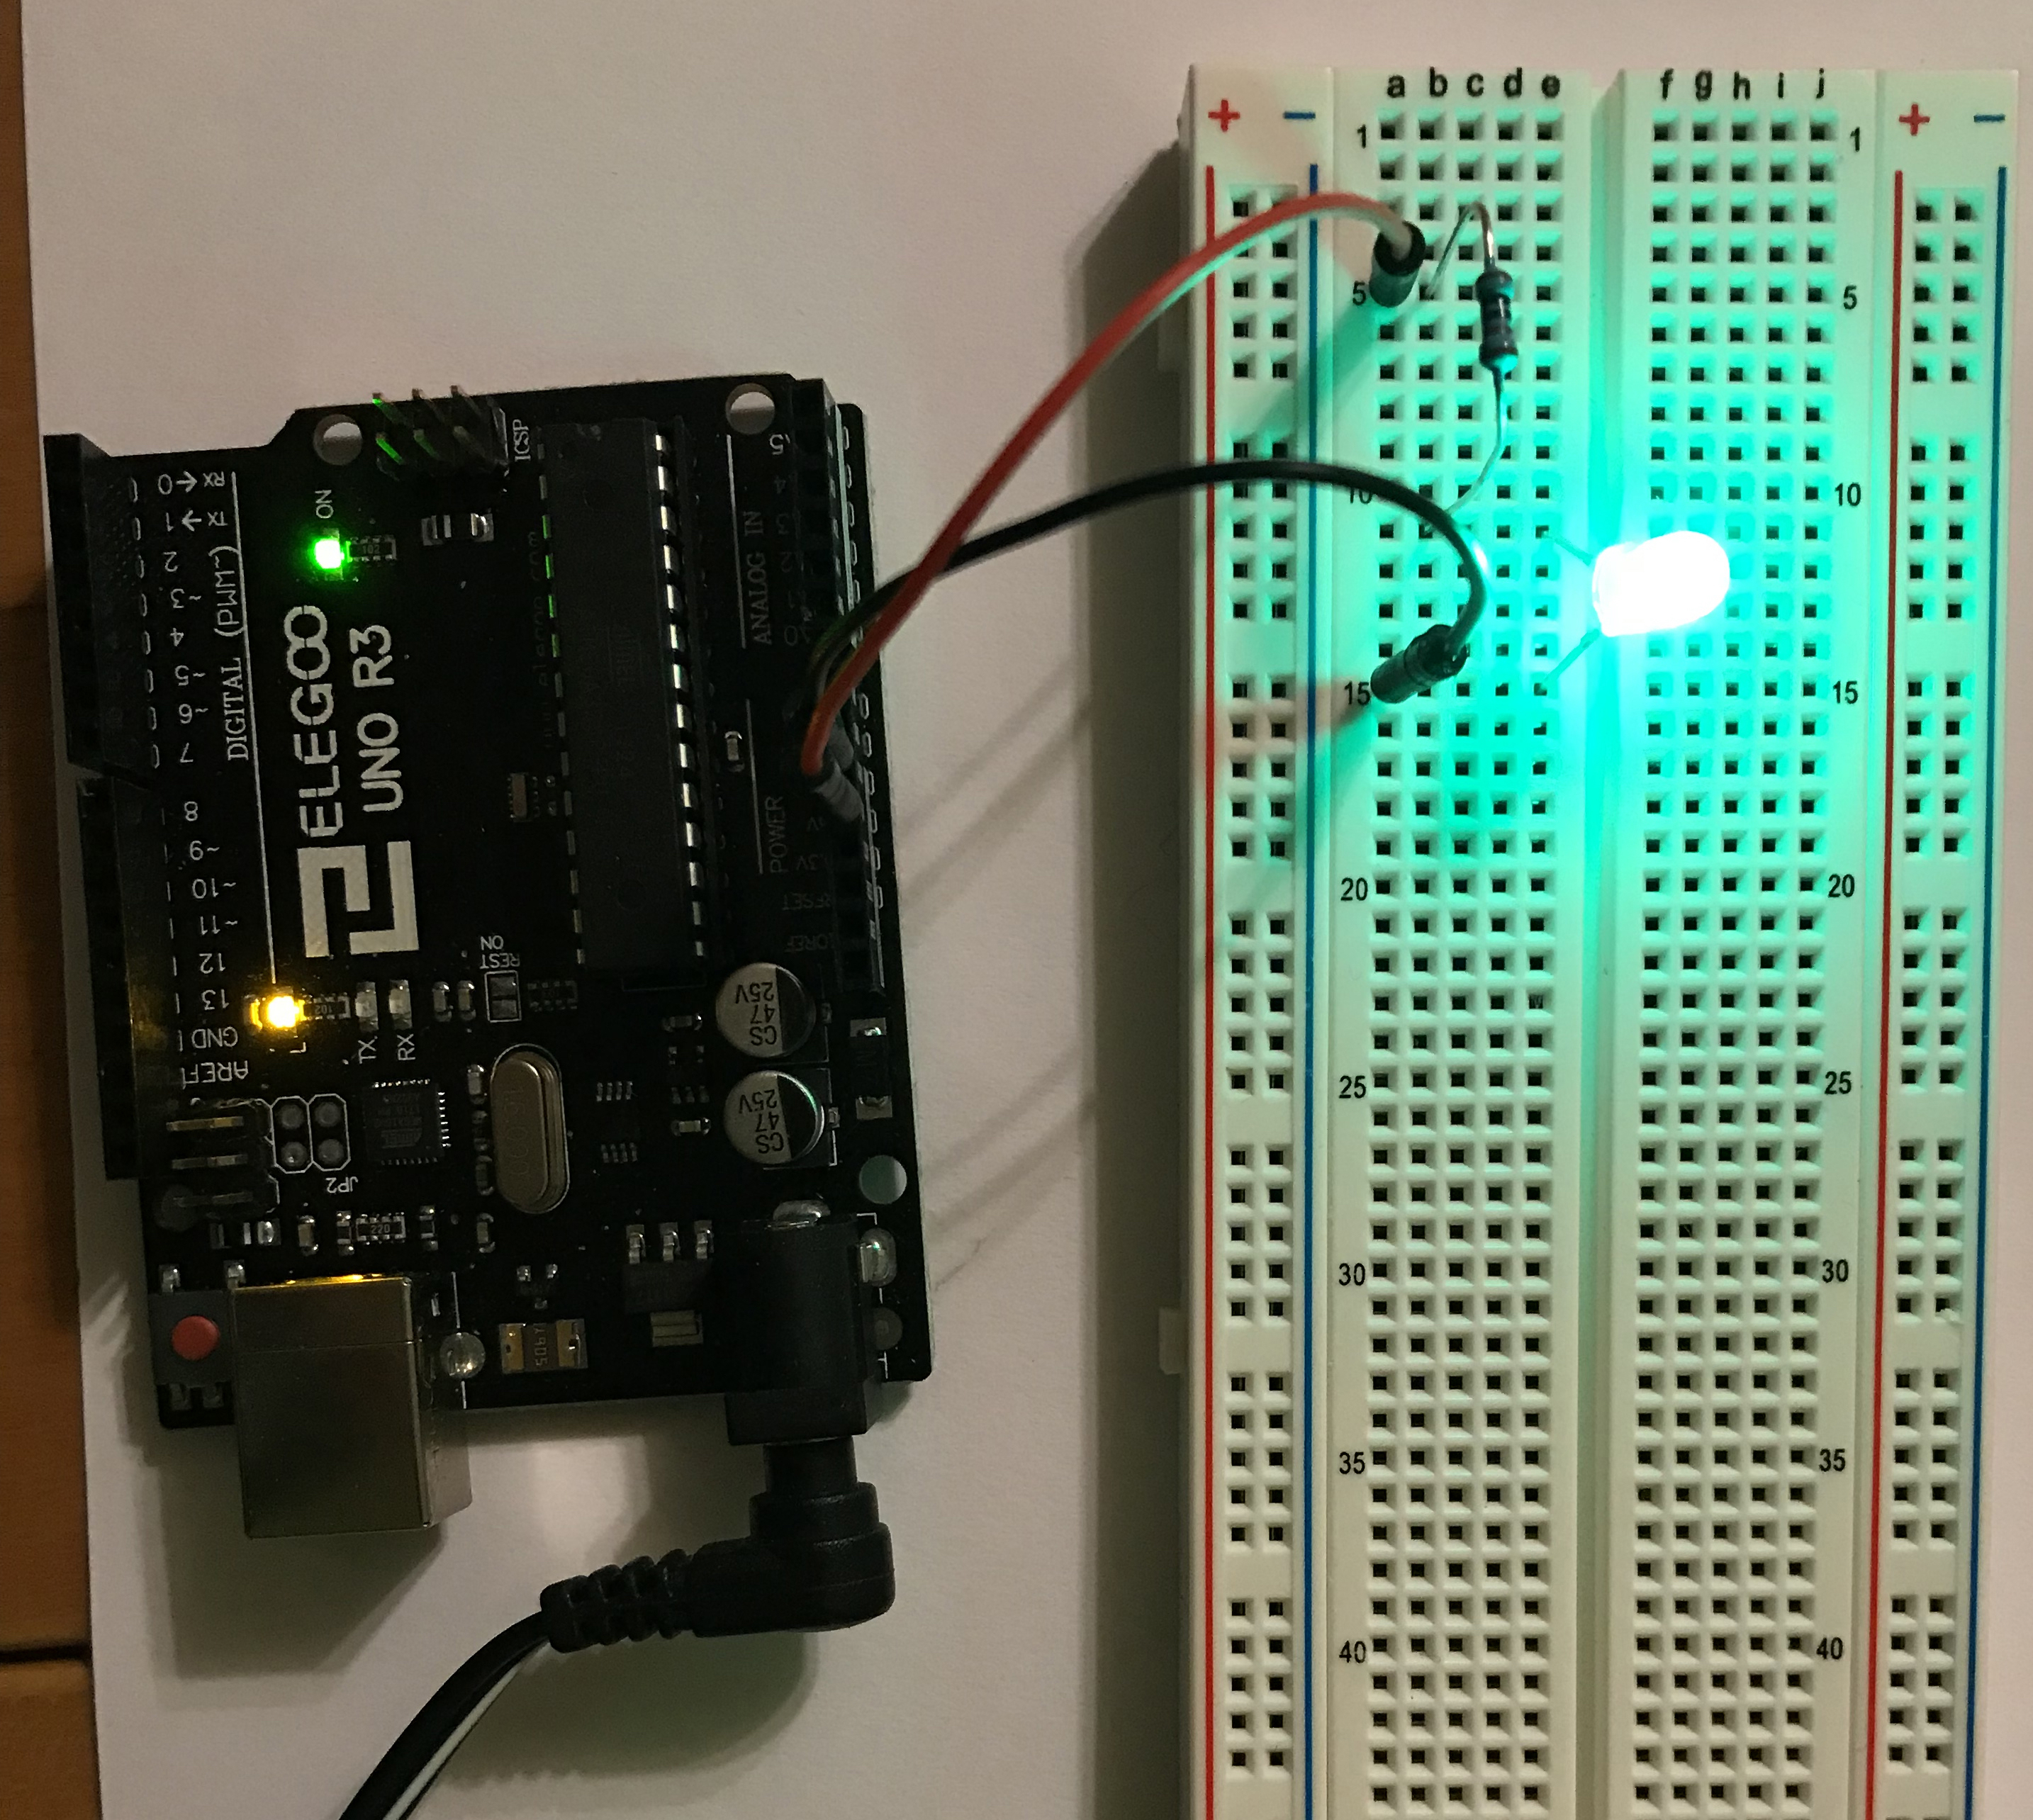
Some extensions to this project are sound sensitive LEDs, or with a bit more code, a LED array with flashing light patterns.